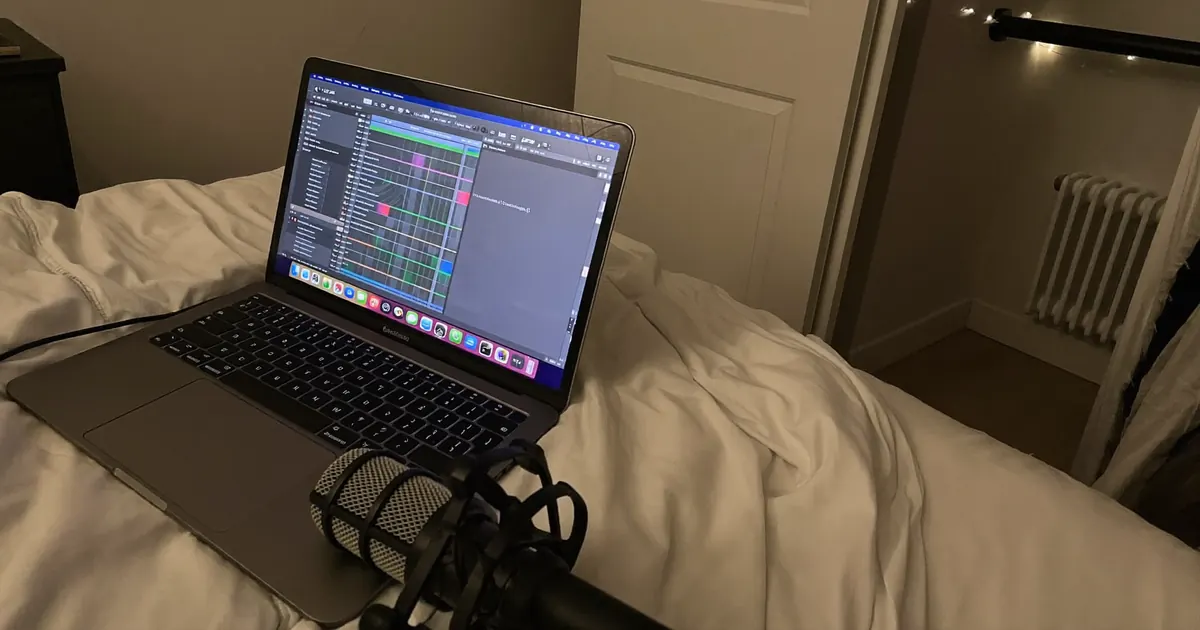
GarageBand Auto-Tune: Tune Vocals for Free
VP
VocalPresets Team
7 min read
GarageBand autotune is the Pitch Correction slider in Smart Controls, set to the key of the song. Drag it right for more snap. Leave it mid for a quieter fix. You do not need a paid Antares plugin to tune a vocal in GarageBand. You need the right key, a slider position that matches the record, and a chain after it so the take does not sit dry on a finished beat.
GarageBand will not give you every knob Auto-Tune Pro has. That is fine. Most independent artists recording on a MacBook need a vocal in key, then a mix. The slider does the first job. The rest is EQ, compression, and space.
If you want the full mixer walkthrough after you are in key, use this:
If you still need retune speed explained in artist language, not plugin manuals, start here:
GarageBand autotune: Pitch Correction first
Click the vocal track. Press B to open Smart Controls. Find Pitch Correction. That slider is the tuner.
Further right is more correction. All the way right is the hard effect. Halfway is usually enough for a sung hook that was almost there. All the way left is off.
Set the key and scale to match the beat. This is the step people skip, then blame GarageBand. Pitch Correction pointed at the wrong key will pull good notes toward bad ones. The plugin is not broken. The scale is.
If you do not know the key, play the instrumental and use a piano app or a tuner on the beat, not on your vocal. Once the project key is right, the slider starts making sense.
Pitch Correction vs a free AU tuner
Pitch Correction is built in. It is simple. It is also limited. You get one amount and a key. You do not get Antares-style humanize, formant, or a dedicated retune-speed number.
AU (Audio Unit) tuners fill that gap. Graillon 2 has a free version that loads in GarageBand if you install the AU build. Some artists also use other free AU pitch plugins. The workflow is the same: tuner first on the track, then your EQ and compressor.
Use stock Pitch Correction if you want to finish tonight and the take is close. Use an AU tuner if you want the harder modern snap and the slider will not get you there without chirps.
Do not stack both at 100. One tuner. Print it if you have to. Then mix.
A simple GarageBand tune session
- Record the verse with the tuner off, or with Pitch Correction low. A hard tuner in your headphones can make you sing lazy.
- Set the project key. Confirm it against the beat.
- Raise Pitch Correction until the notes lock. Stop when S and T sounds start to twitter.
- If one word is still off, punch that bar again. GarageBand is not Melodyne. It will not save a melody you did not sing.
- Add EQ, compression, and a short reverb after the tuner. Or load a chain that already has those.
Keep the vocal around -12 to -18 on the way in. If you recorded in the red, the tuner and the compressor both get ugly.
Mac vs iPhone GarageBand
On a Mac, Smart Controls and AU plugins are the real session. That is the GarageBand autotune workflow this post is about.
On iPhone or iPad, Pitch Correction still exists, but you have fewer insert slots and a thinner AU list. Write the hook on the phone if that is where you actually finish verses. Bounce a dry take when you can, then finish the mix on a Mac. The phone tuner is not a toy. The missing chain is the limit.
If you only have the phone tonight, set the key, use Pitch Correction, and export. Do not wait for a desktop session that never happens.
Installing a free AU tuner
Download the AU build, not only the VST. Restart GarageBand after the install. On the vocal track, open the plug-in list and look under Audio Units. Graillon 2 free shows up there if the installer put it in the right system folder.
If it does not show, the AU never landed. Re-run the installer and check Audio Units in the plug-in manager. You do not need a paid AU host. GarageBand already is one.
Keep Pitch Correction off if Graillon is on. One tuner.
Honest limit: GarageBand preset coverage is thin
Most vocal presets on this site are built for FL Studio, Ableton Live, and Logic Pro. GarageBand is last among the common DAWs for a reason. Apple's free DAW does not load the same mixer racks. The SKU list is short.
One chain that does include a GarageBand version:
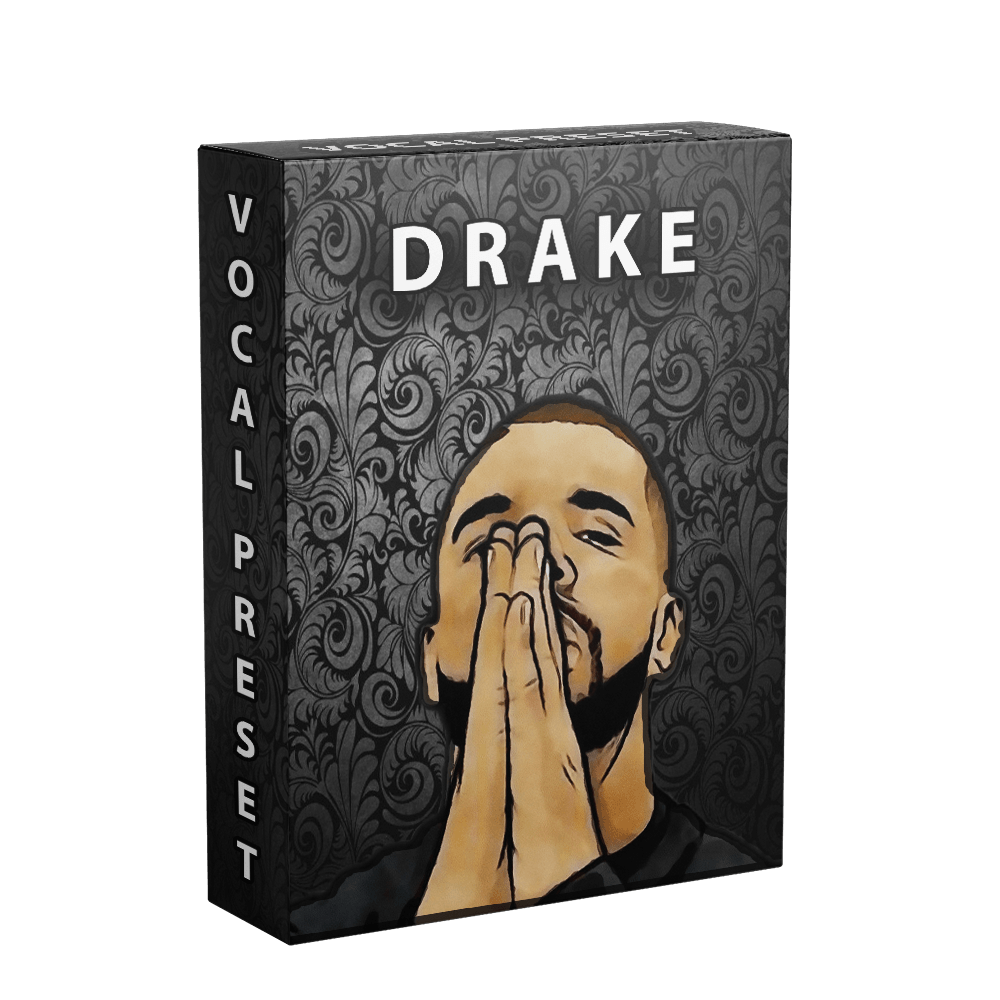
Drake Vocal Preset

Rys Up Audio
$49.99That pack is built for the dark, warm late-night vocal — not a promise you will sound like Drake. It is a starting tone: low-end body, controlled top, dark space. If you are on GarageBand and you want a marketplace chain that actually lists this DAW, start there.
There is also a free chain a lot of artists grab after they can tune:

Free
Big Drip

Vocal Labs
FreeBe straight about it: Big Drip ships for FL Studio, Ableton Live, and Logic Pro, not as a native GarageBand file. If you are staying in GarageBand, use Pitch Correction plus the stock EQ and ChromaVerb, or move the session to Logic later. GarageBand projects open in Logic Pro. Nothing you record tonight is wasted.
For more GarageBand-friendly picks, see:
Top Garageband Presets
Studio Polish
Vocal Labs
$14.99
Stargaze
Vocal Labs
$14.99
Country
Vocal Labs
$14.99
Airy Female Pop
Vocal Labs
$14.99After the tuner: make it sit
A tuned vocal with no chain still loses to a mixed beat. In Smart Controls, do the boring work.
High-pass the rumble around 80–120 Hz. If the vocal sounds like a cardboard box, ease 300–500 Hz down a couple dB. A small presence bump around 2–4 kHz helps the words read over 808s.
Compressor in Smart Controls around the middle, not slammed. You want the verse even, not squashed.
ChromaVerb on a small room, low wet mix. Rap and melodic rap usually want less reverb than your headphones ask for.
If this is starting to feel like a mixing lesson, that is the whole point of a preset. Load the GarageBand-ready chain, keep Pitch Correction in front of it, and record the next take.
When GarageBand is enough — and when it is not
GarageBand is enough to release if the performance is good and the mix is simple. Plenty of songs have come out of this DAW.
It gets painful when you want a hard tuner, a de-esser, and a parallel chain at the same time. That is the moment artists jump to Logic Pro, or move the vocal into FL Studio / Ableton Live.
You do not have to jump today. Tune the record. Export a dry vocal too. If you upgrade later, you will want that clean file.
A dry bounce is the cheap insurance policy. File > bounce or export the vocal track with effects off. Label it dry. When a friend opens it in FL Studio or Logic later, they are not stuck with your ChromaVerb printed in.
Recording with the tuner in your headphones
A hard slider in the cans makes a lot of artists sing lazy. The plugin catches the note, so the take never commits.
Record a pass with Pitch Correction low or off. Then raise the slider. If the song wants the hard effect in the performance, do a second pass with it up so you sing into the snap on purpose. That is a choice. The first pass gives you a real melody if the effect is wrong for the record.
Stand closer to the mic than you think, pop filter on, closet or clothes around you. GarageBand autotune will not delete a noisy room. It will tune the noise into a warble.
Common GarageBand tuner mistakes
Slider at 100 on a quiet R&B verse. That is an effect. Use it if you want the effect. Do not use it because a thumbnail said "max it."
No key set. This is why people say GarageBand autotune sounds random.
Tuner after ChromaVerb. The plugin starts tuning the room. Put pitch first.
Waiting for a huge GarageBand preset catalog. It is not here yet. Use the one SKU that supports it, or finish with stock plugins and move on.
FAQ
Does GarageBand have Auto-Tune?
It has Pitch Correction, which is GarageBand autotune. It is not the Antares plugin. For a lot of bedroom records, the slider is enough.
Why does Pitch Correction sound robotic?
The slider is high, the key is wrong, or both. Drop the amount. Confirm the scale. If you still want the robot, keep it high on purpose.
Can I use Graillon or Antares in GarageBand?
Graillon 2's AU build can load as an Audio Unit. Antares can too if you own it and install the AU. Tuner first, then the rest of the track.
Should I stay in GarageBand or move to Logic?
Stay if you are finishing songs. Move if you keep hitting a wall on plugins. Logic opens GarageBand projects directly, so you are not starting over.
Load a chain and record
Set the key. Move the Pitch Correction slider until the notes lock. Then stop tweaking the tuner.
Drake Vocal Preset
Rys Up Audio
$49.99Load the GarageBand-ready chain, hit record, and drop the song.